Filament Printers
Ender 3 V2
Instructions on how to do certain tasks with the Ender 3 V2
Ender 3 V2 - Pictures
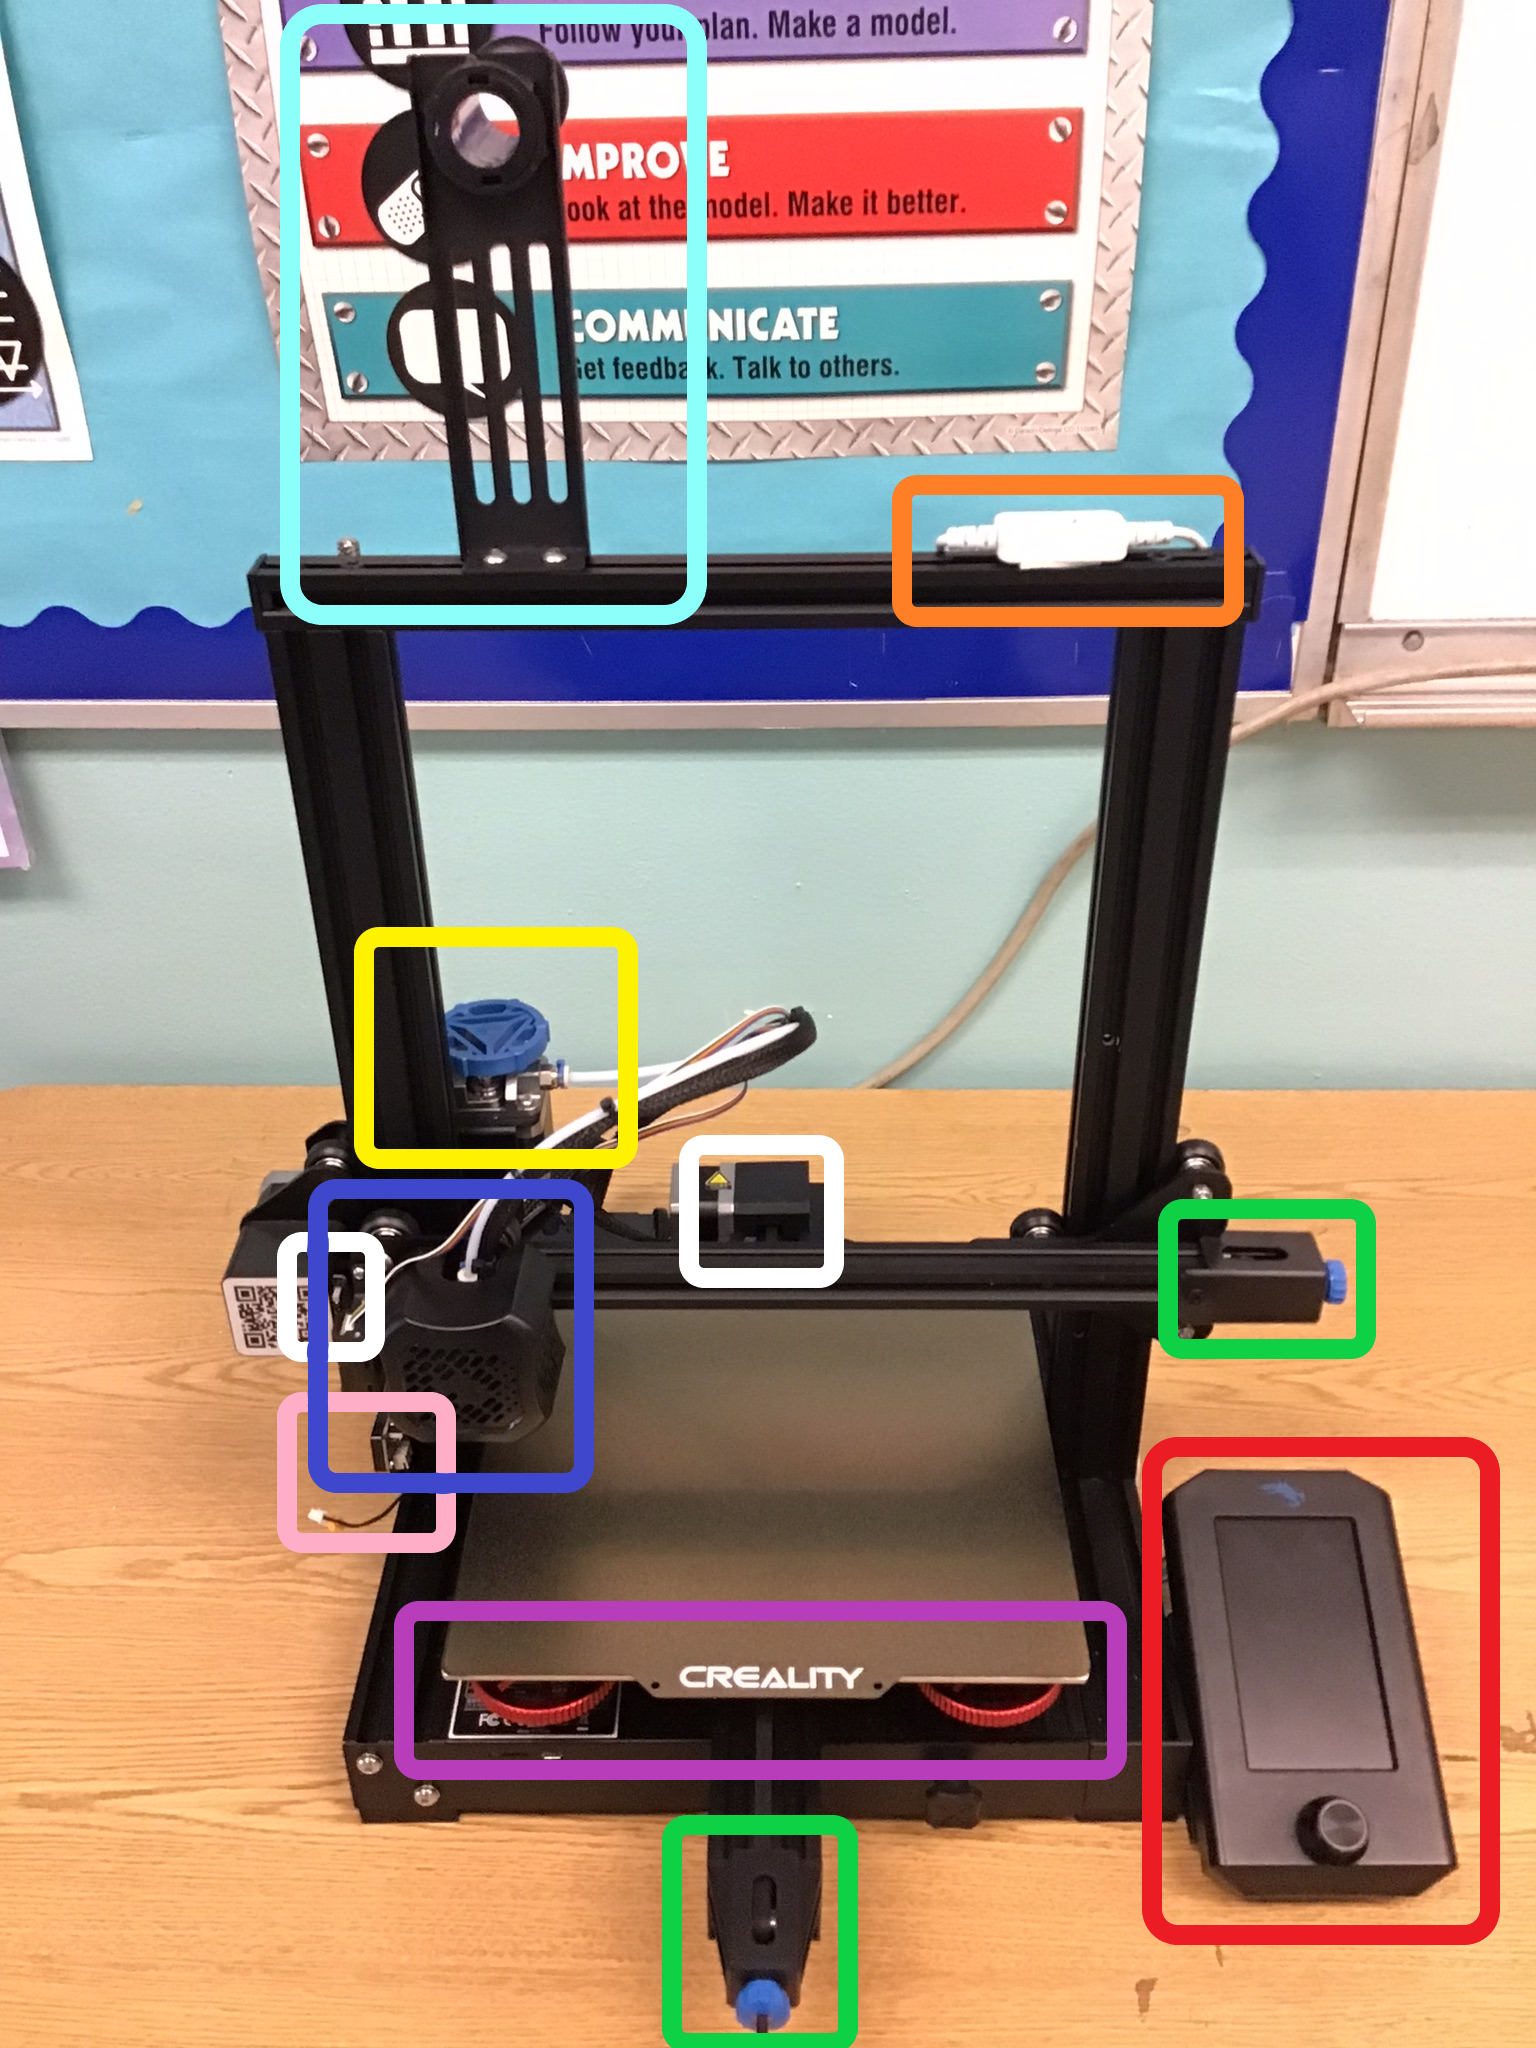
Green - Belt Tensioners
The belt tensioners are used to adjust the tension of the X and Y axis belts.
Red - Screen and Knob
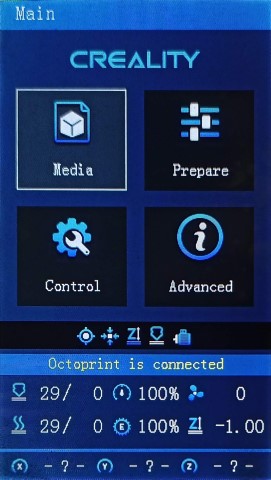
The screen is used to adjust settings and set things to print. Counter-Clockwise on the knob moves the cursor up, Clockwise on the knob moves the cursor down.
Purple - Bed, Springs, and Knobs
The Bed is where objects are printed. The Springs and Knobs are used for leveling the Bed.
Pink - Z-axis limit switch
The Z-axis limit switch is used to tell the printer when the Z-axis is homed. Do not plug in on good printer.
Blue - Hot-End Assembly
The Hot-End Assembly is where the Fan, Heating element, and nozzle is. The Z-axis probe to the left is only present on the good printer. Enables auto bed leveling.
White - Stepper Motors
The stepper motors are the precise motors that move things around in the printer.
Yellow - Extruder
The extruder is the stepper motor that controls the flow of filament into and out of the Hot-End Assembly via the Bowden tube.
Orange - LED Light Switch
The switch controls the LED lights in the good printer.
Light Blue - Filament Holder
Pretty self explanatory, holds the filament.
Ender 3 V2 Fimware
Hello! This document is used as a repository for the custom firmware used on the PWB STEM printers.
Failure to use these EXACT FIRMWARE files attacked to this article will result in PERMANENT FAILURE
Explanation
Some explanation for the warning above. The attached firmware files on the left pane are custom built for the printers in this room. In the off-chance they become corrupted, or have software issues, use the files to re-flash the printers.
Therefore, we've decided to use mriscoc's Ender 3 V2 firmware. It's packed with features, and quality of life improvements.
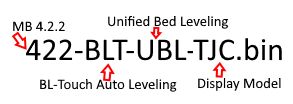
The Anatomy of firmware names
The firmware files are named according to the printers features. There's an example below.
Firmware flashing instructions
The Micro SD Card used in this tutorial WILL BE WIPED!!!
- Insert a blank Micro SD in your PC/Mac.
- Right-click the drive in
This PC


- Press start
-
Copy the .bin file to the root of the card (base folder)
- Ensure that the name of the file was not previously used to update the printer. If necessary, rename the file. (use gibberish, remember to keep the .bin extension)
- Turn off the printer, disconnect any USB cable and insert the Micro SD card.
- Turn on the printer, the upgrade firmware process will start automatically.
- The display will be blank until the upgrade is finished (about 15 seconds).

Anatomy Information
These explain the devices and firmware name in more depth
MB Number
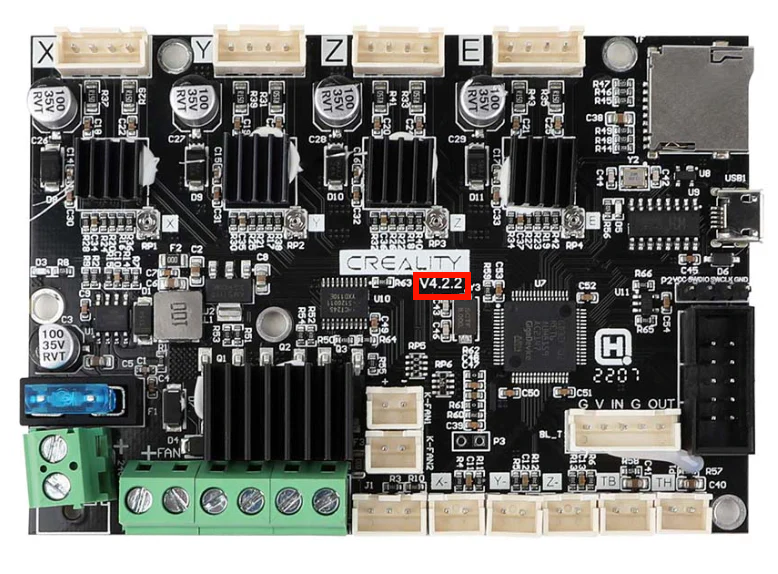
422 - Motherboard Version: 4.2.2
427 - Motherboard Version: 4.2.7
Bed Leveling
 BLT: Creality BL-Touch Bed Probe
MM: Manual Mesh (Manual Leveling of bed
Unified Bed Leveling
TLDR:
Use UBL for printers with a bed probe
Use MM for printers without a bed probe
Display Type
TJC: (Newer style of display), needs a firmware update for the display.
DWIN: Older Display, no firmware update required
For info on which display is which, click this link