Difficulty - Medium
### Step 1 - Open "Document Options" Select the title of your document in the top left of the screen to edit your document options. [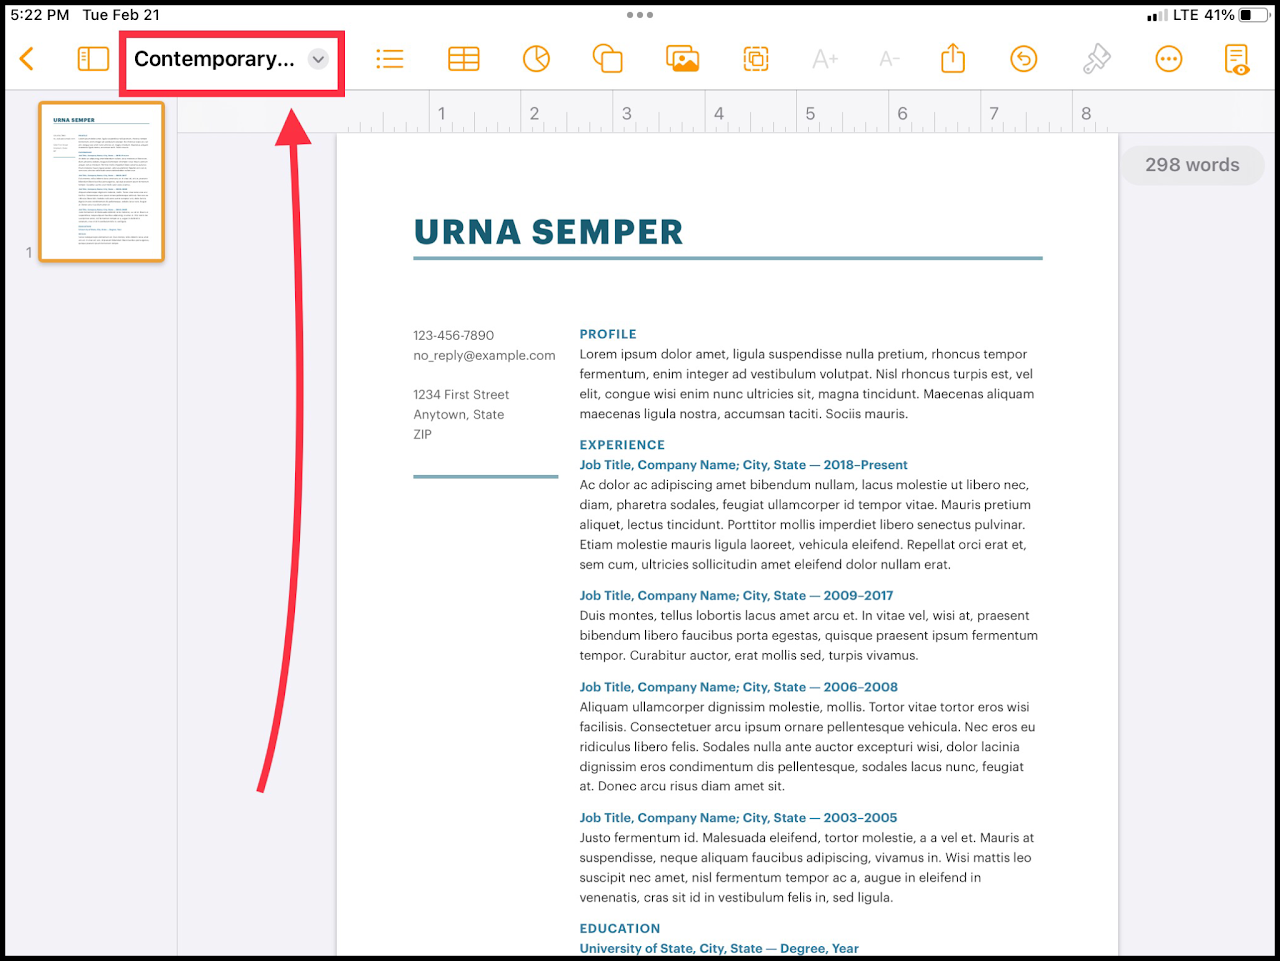](https://wiki.pwbstem.club/uploads/images/gallery/2024-01/jxgmedia-1.png)If your document is not saved in iCloud, do so now. Or else, the remaining steps will not apply.
The document does not have to be complete before collaborating. All edits are synchronized with the collaborators.
### Step 2 - Open "Document Sharing Options" Select the share icon to the right of the title in the drop down menu. [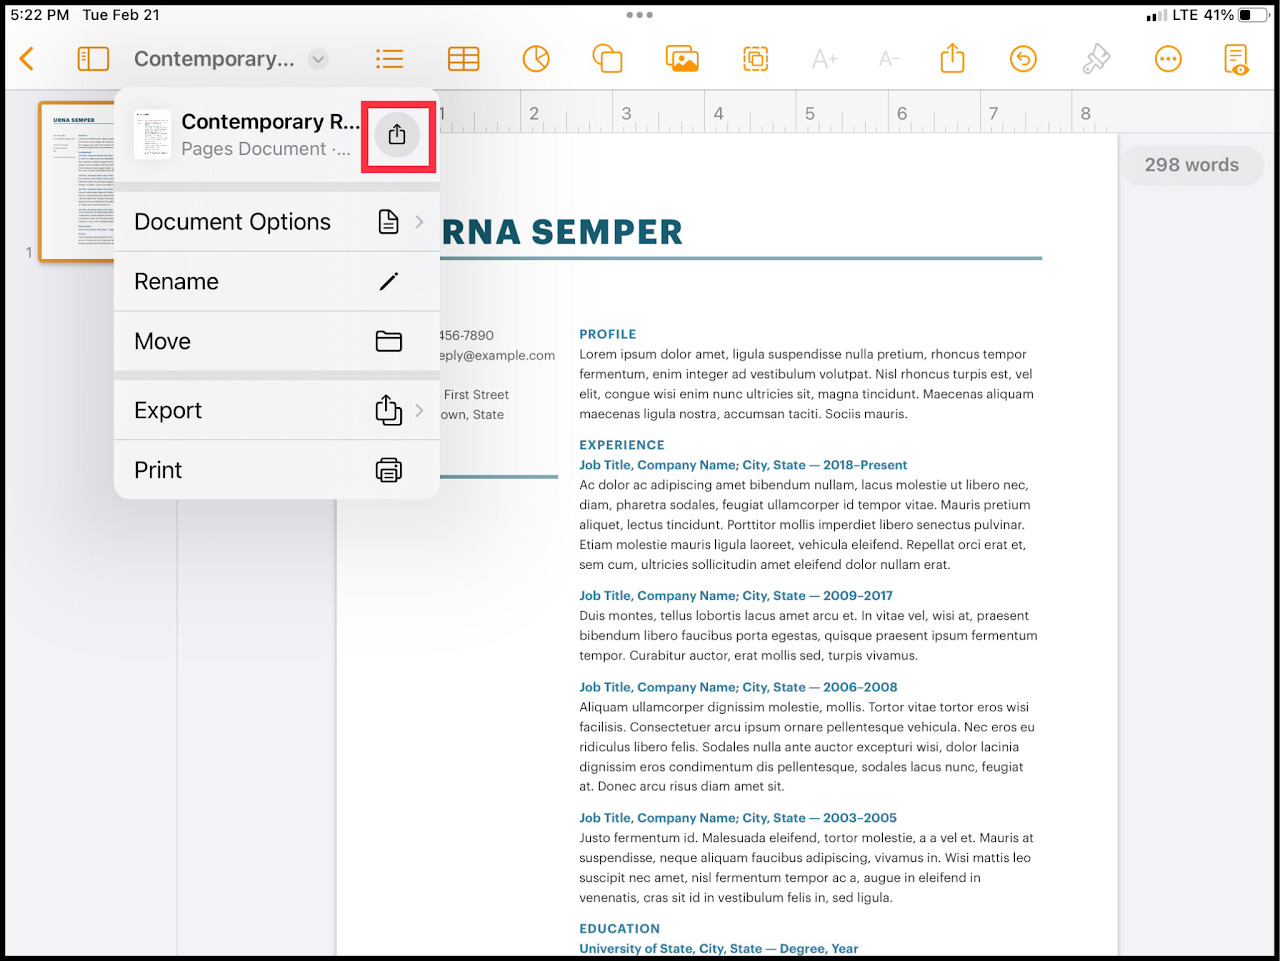](https://wiki.pwbstem.club/uploads/images/gallery/2024-01/DnImedia.png) ### Step 3 - Configure Collaboration Select the "Send Copy" option and switch it to "Collaborate". This will create a live file or link to share with others. [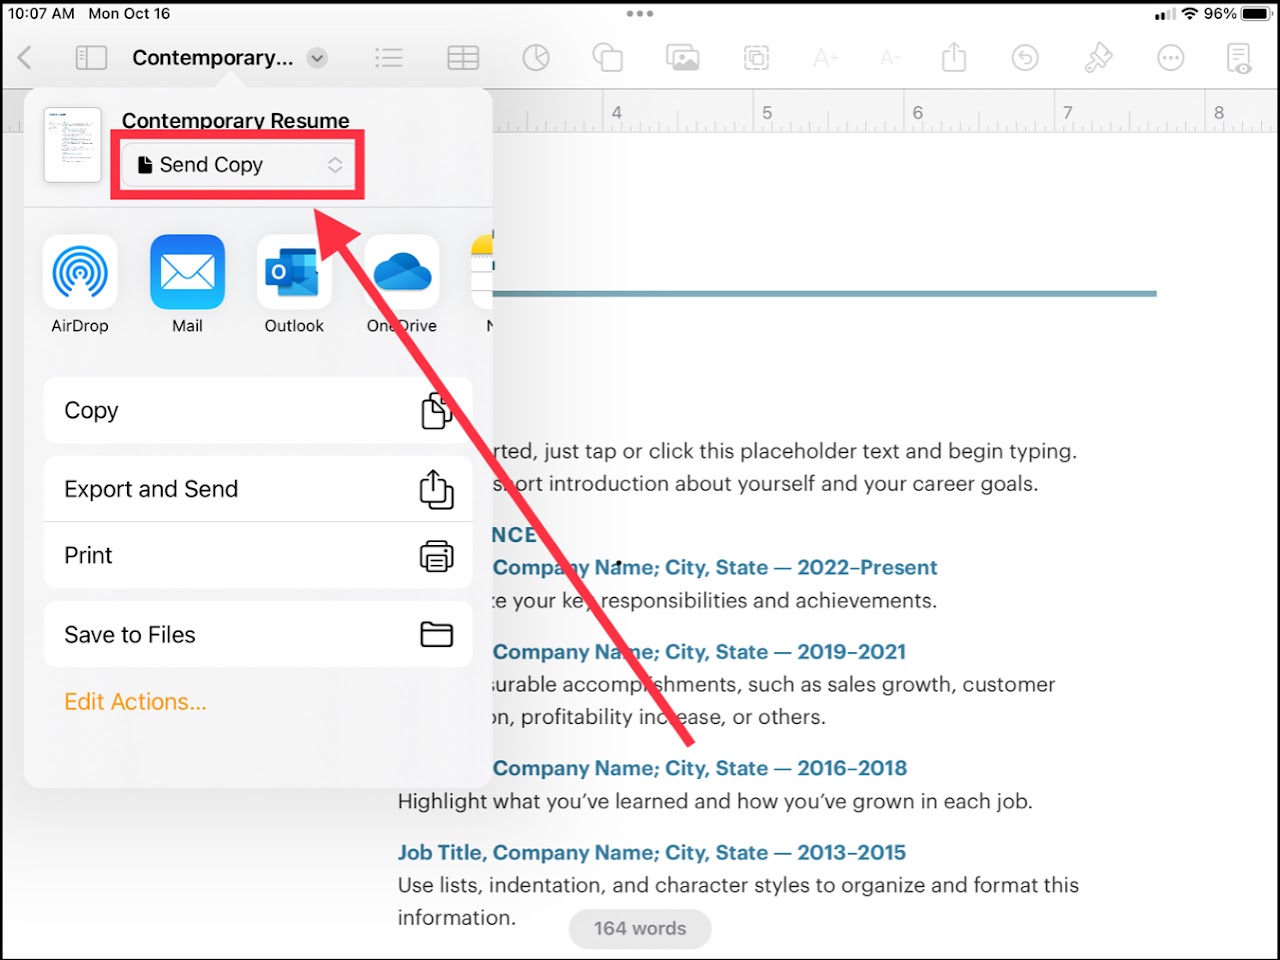](https://wiki.pwbstem.club/uploads/images/gallery/2024-01/media.jpg) [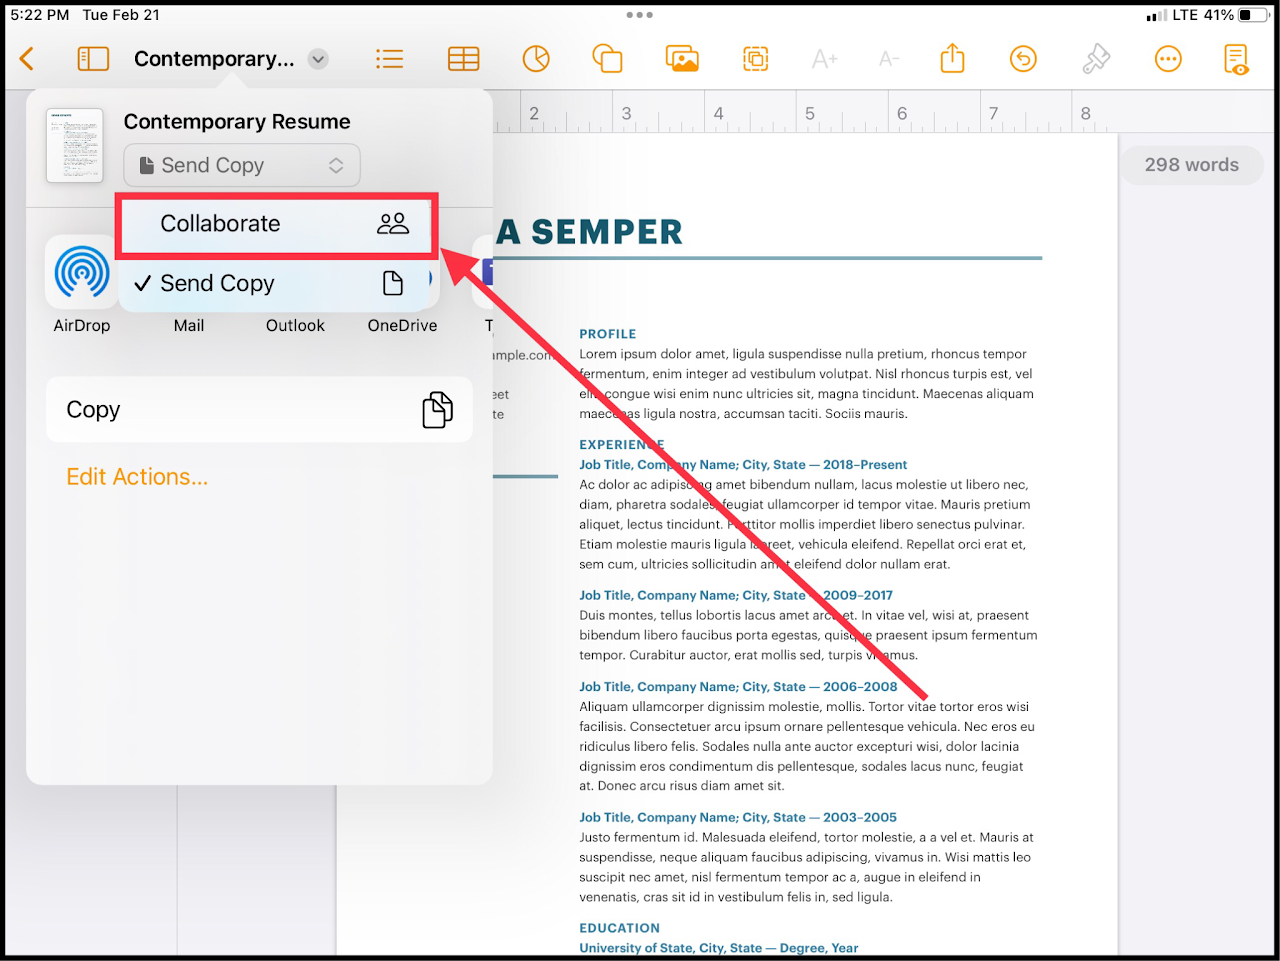](https://wiki.pwbstem.club/uploads/images/gallery/2024-01/64Ymedia.png) ### Step 5 - Select Share Method This is the way your new live file/ link will get shared with the collaborators. Select what you feel comfortable with.We recommend using "Invite with Link". Feel free to experiment with other options.
[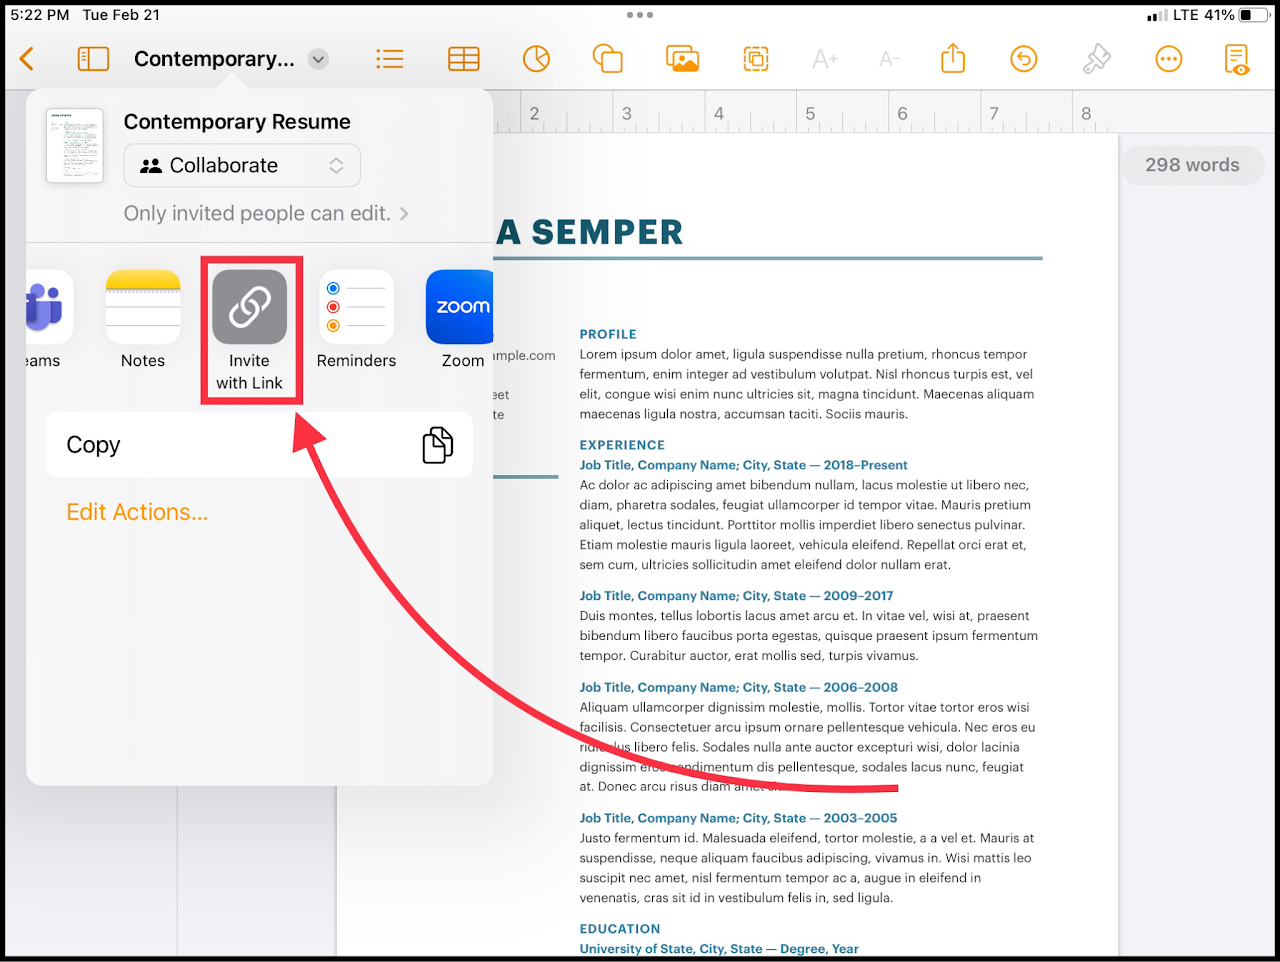](https://wiki.pwbstem.club/uploads/images/gallery/2024-01/KrOmedia.png) ### Step 6 - Add Collaborators Next, you'll add authorized users to your link. This ensures that people without access cannot edit your file.Teacher Emails: [teachernameorid@dadeschools.net](mailto:teacherid@dadeschools.net)
Student Emails:
Some teachers may have different emails than what would be assumed. Check on your MDCPS portal to confirm their E-Mail address.
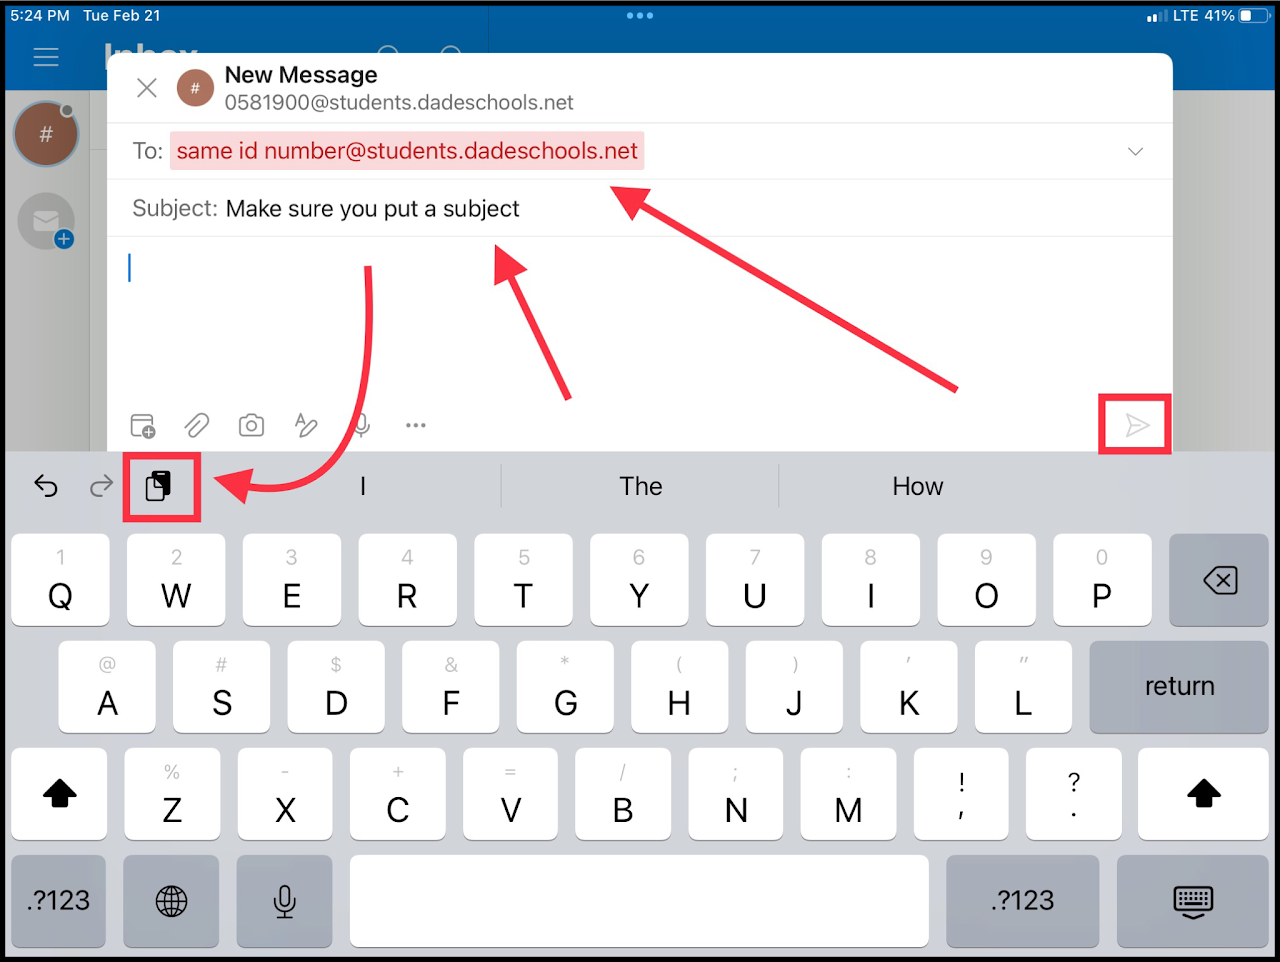
After pressing "Share Link", select a sharing method such as **Outlook** (Recommended) to send the link to an email address.
### Step 7 - Send Your Link Open outlook and write an email to your teacher that includes the link.The E-Mail **will not send** if there is no subject for the message.
You can copy and paste the link into the body of the E-Mail.
[](https://wiki.pwbstem.club/uploads/images/gallery/2024-01/tzpmedia.png)