Step-By-Setup Setup
This is a Step-By-Step guide to setup, update, and use the Raspberry PiCars. Each Page is a different section, and between them, you can stop and take a breather... You'll need them.
If you want to contact me (Liev) you can E-Mail liev@dorfman.net. I'm happy to help!
1. Installing An OS!
NOTE: Any references to the network "StemRoom" should be replaced with "StemSpot"
Step 1: Prerequisite Software Installation
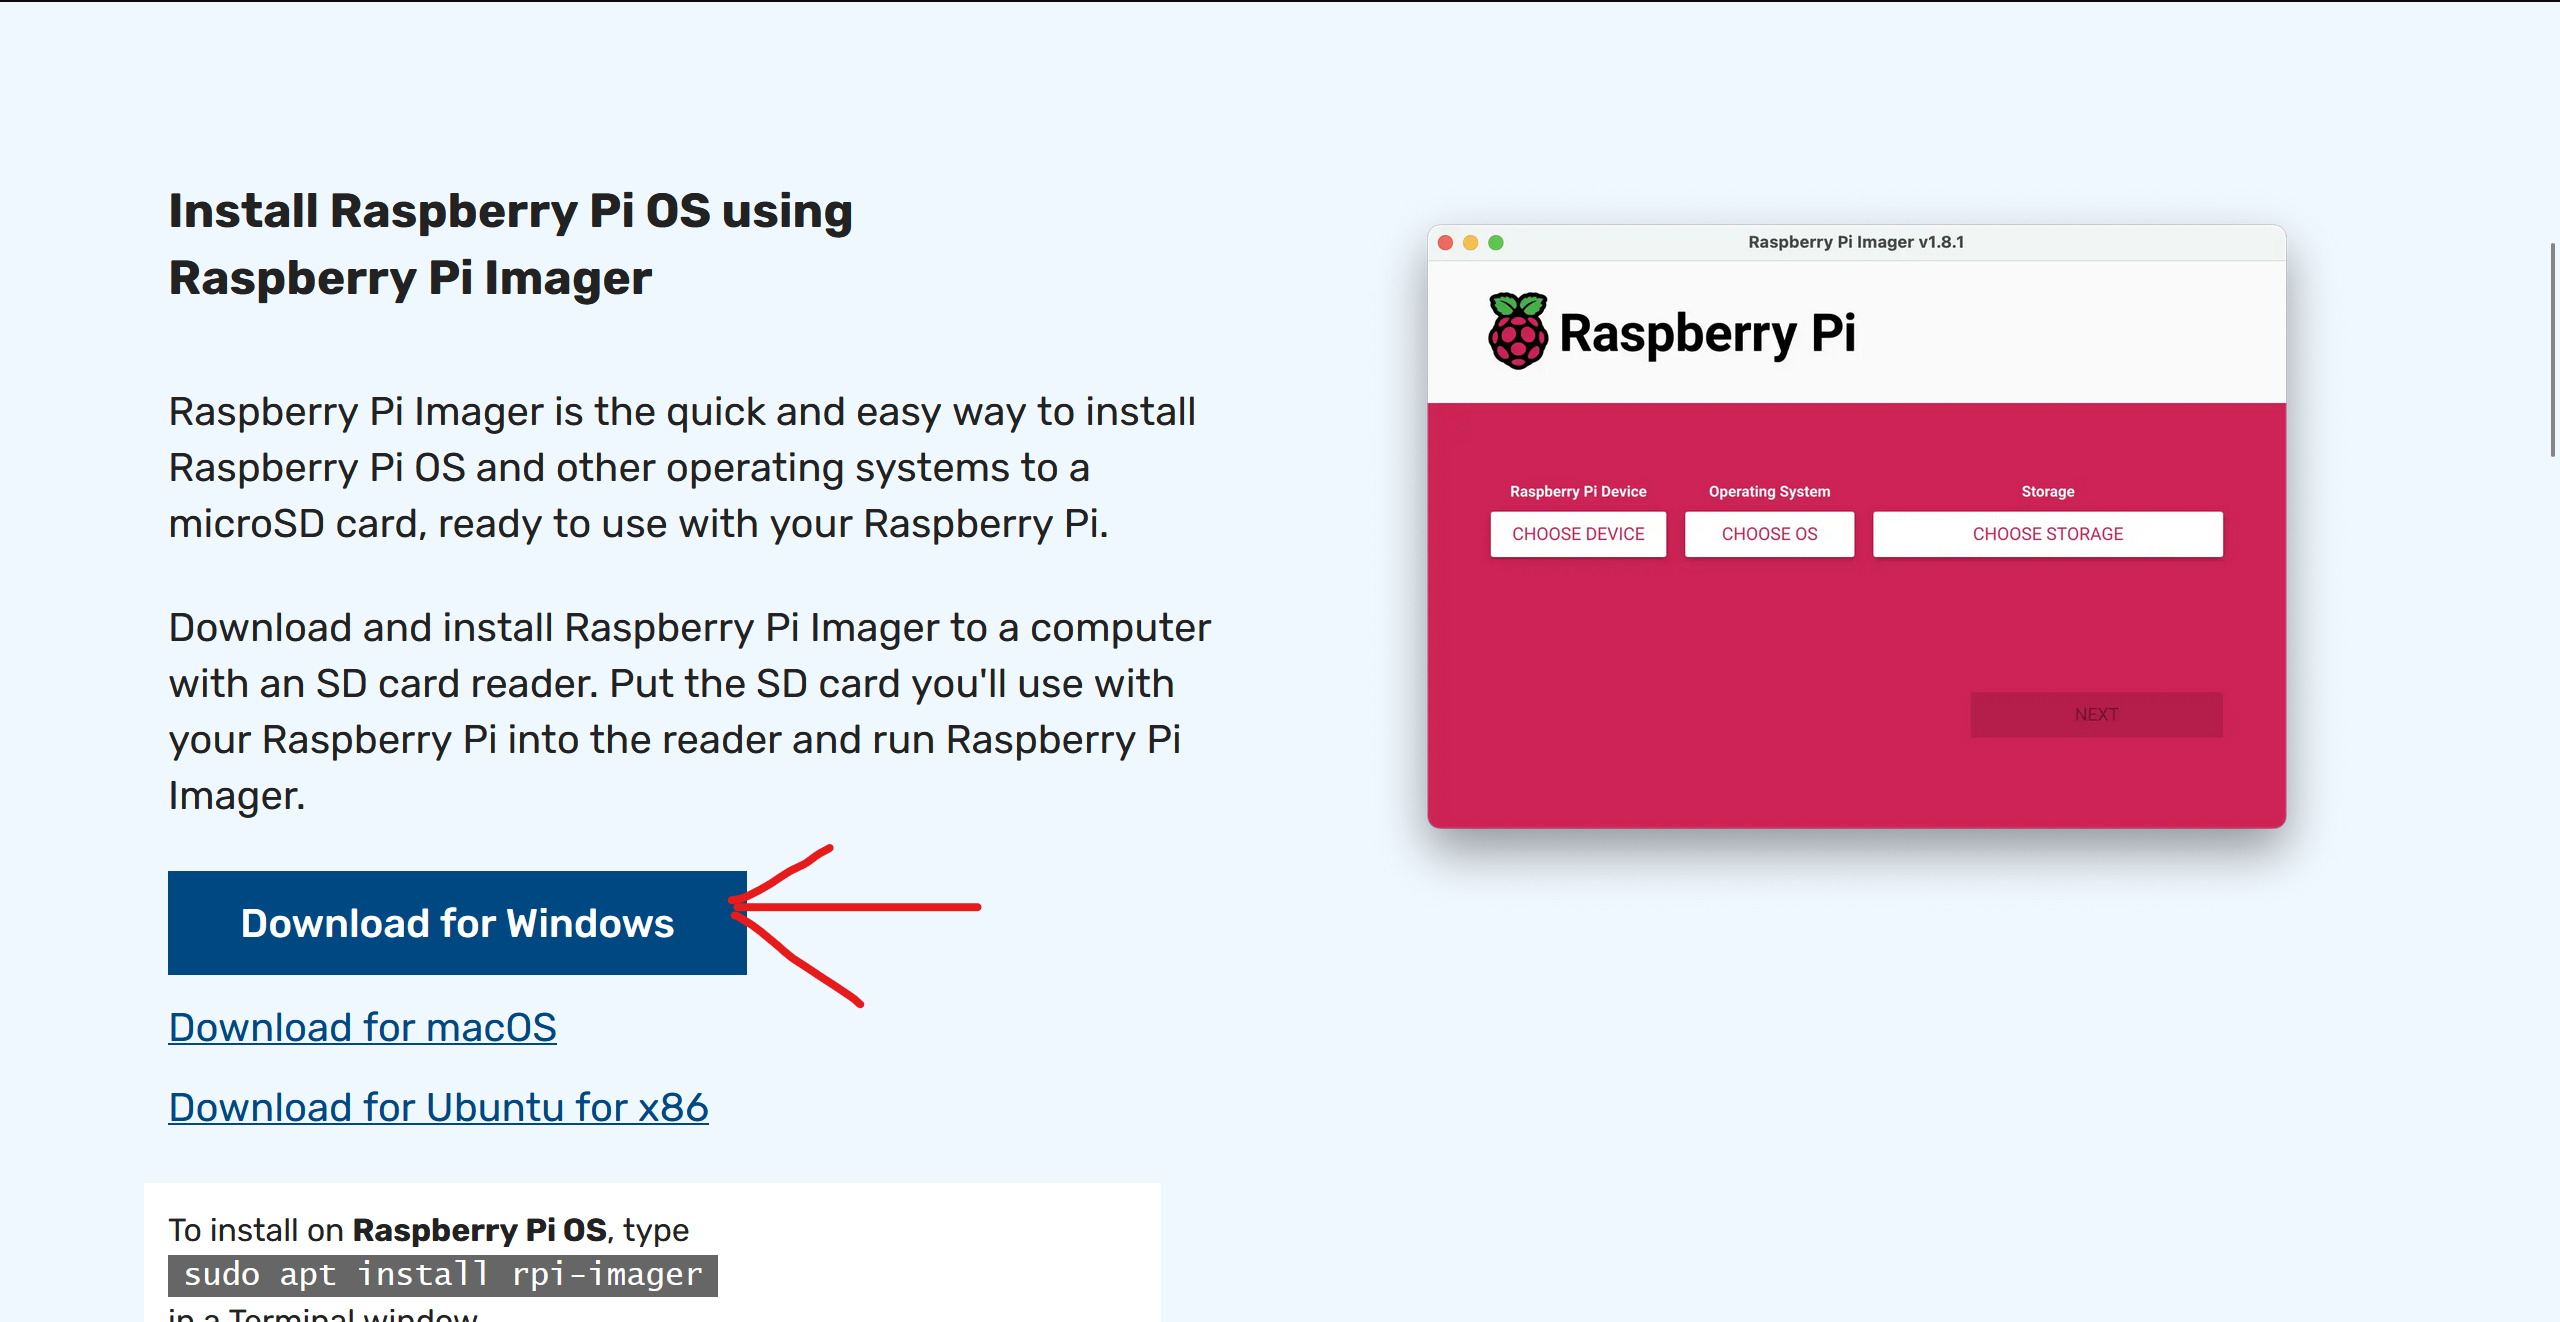
- Raspberry Pi Imager - You'll use this to install the OS on the PiCar, and change some settings to get it connecting.
- Install this for the operating system you're using (Probably Windows).


- Once installed, you'll be met with this. Close out for now.

- The OS Installation will be completed later, so hold off on configuration for now.
- Install this for the operating system you're using (Probably Windows).
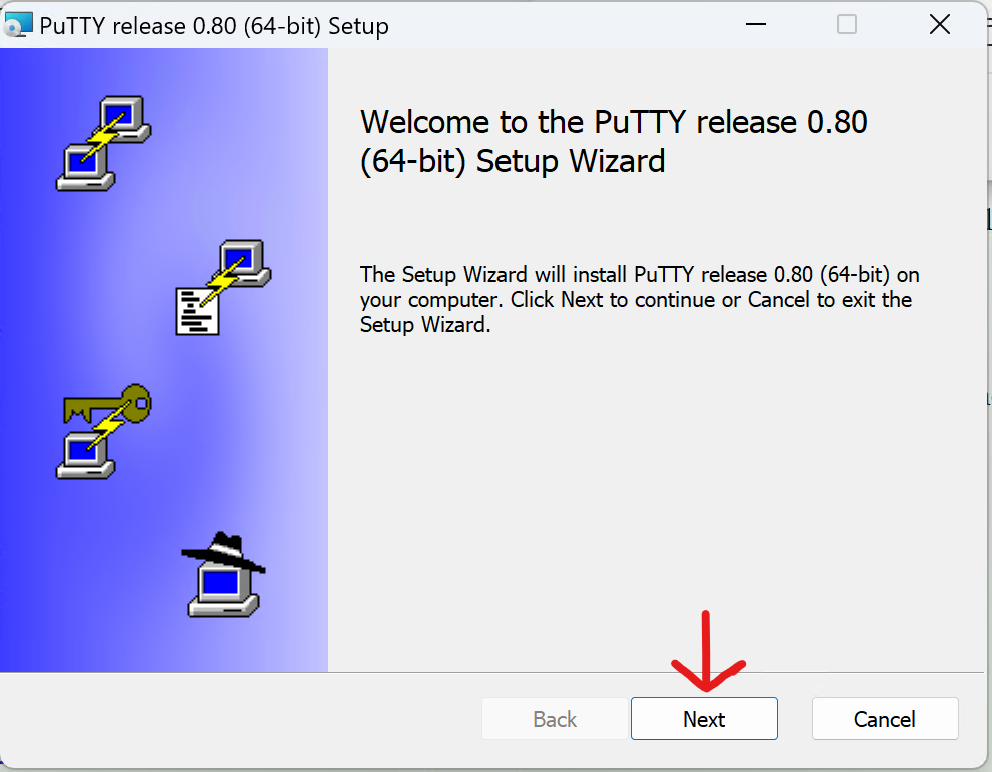
- Putty - This is used as a remote terminal for the Pi. Because the PiCar will be roaming without a display, this allows easier access and copy/paste.

-
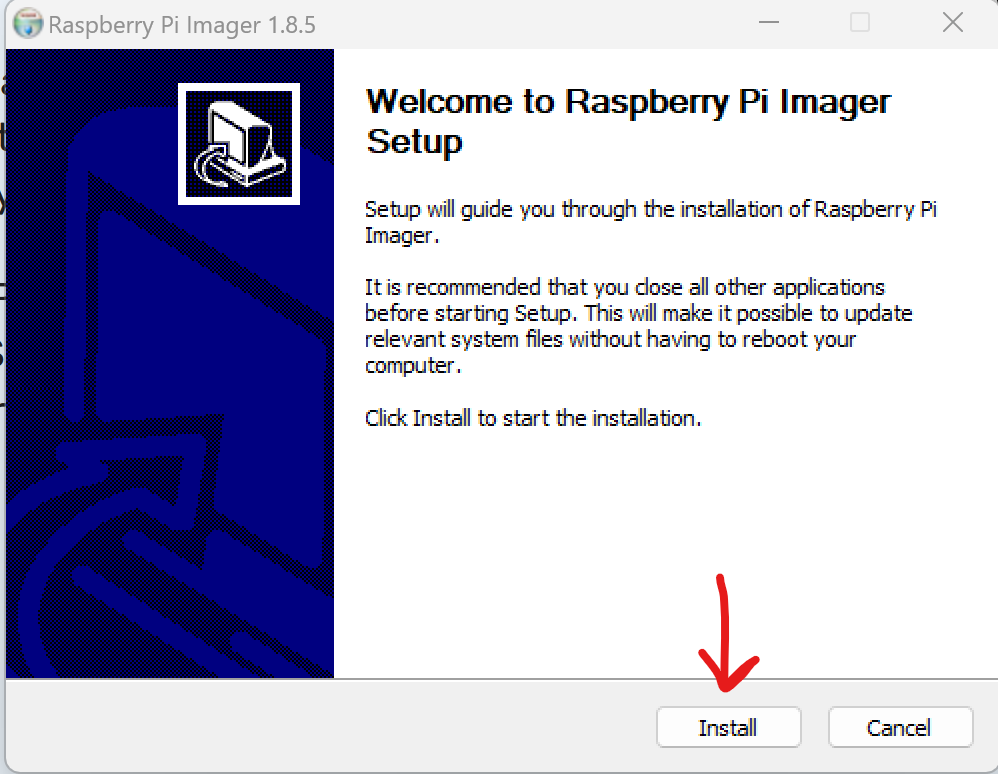
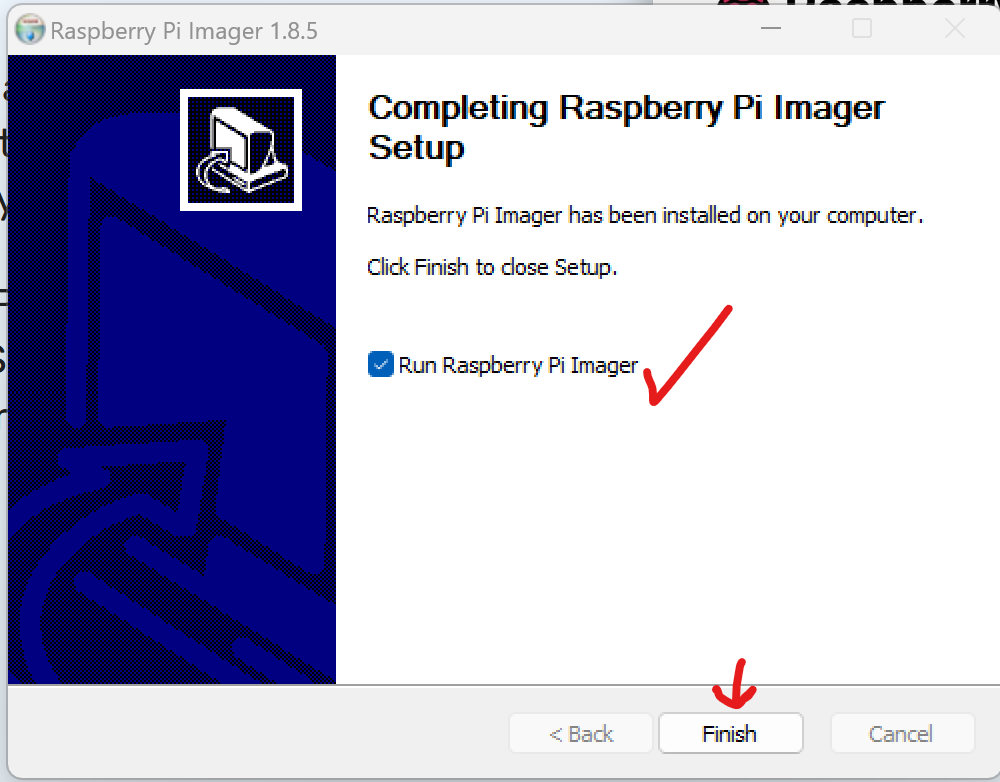
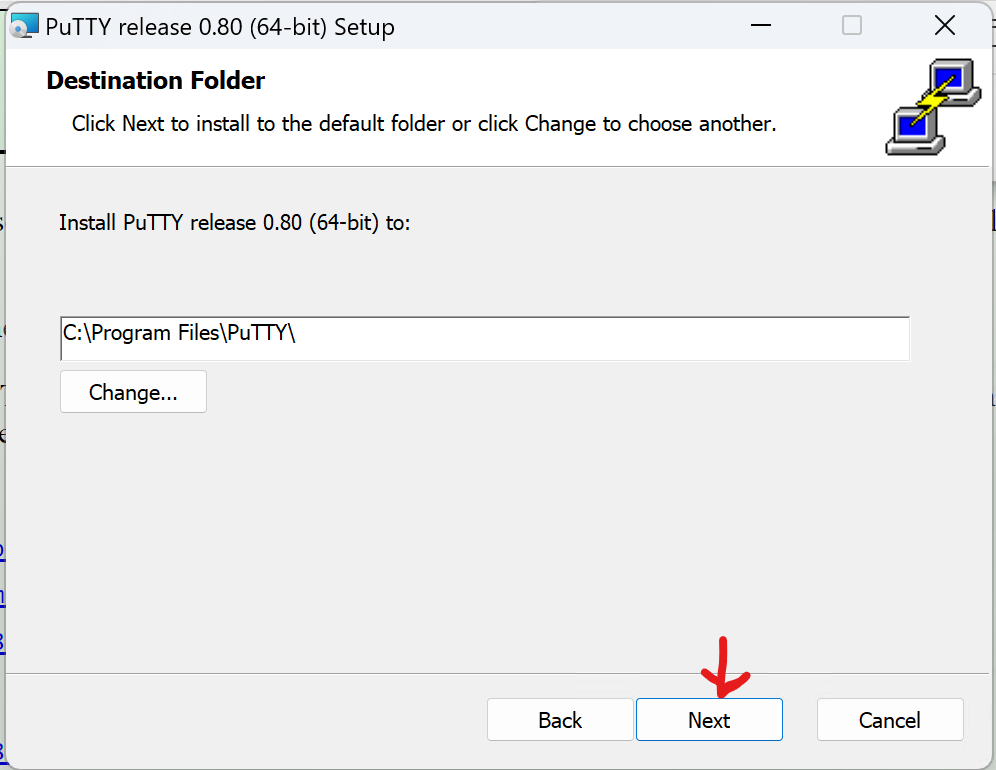
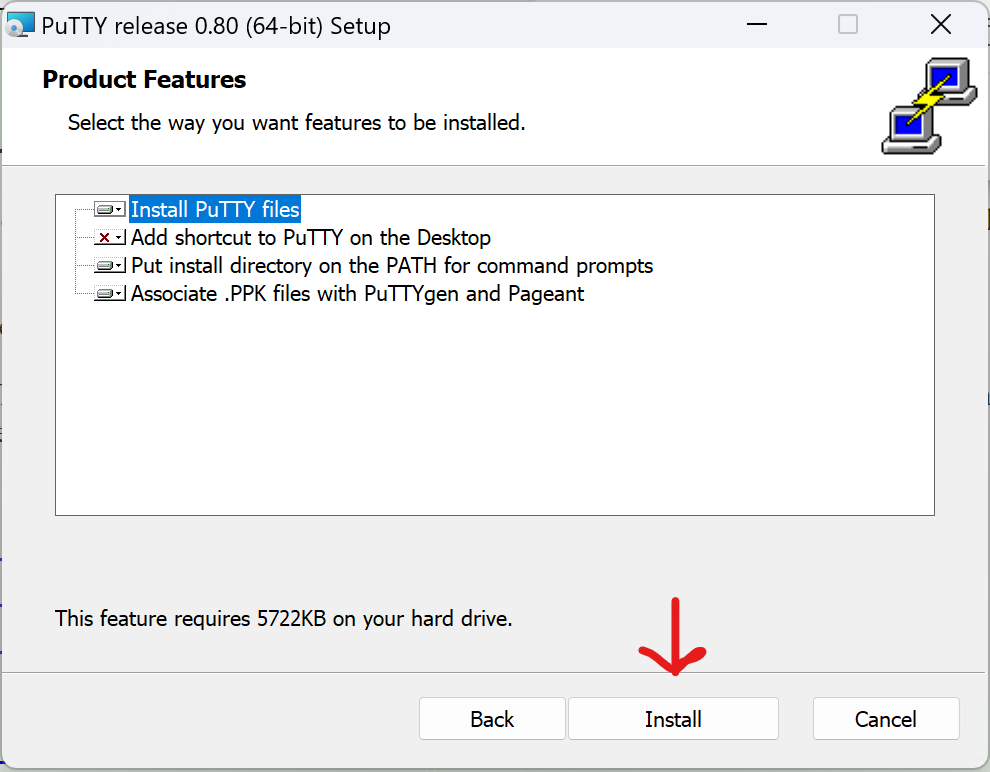
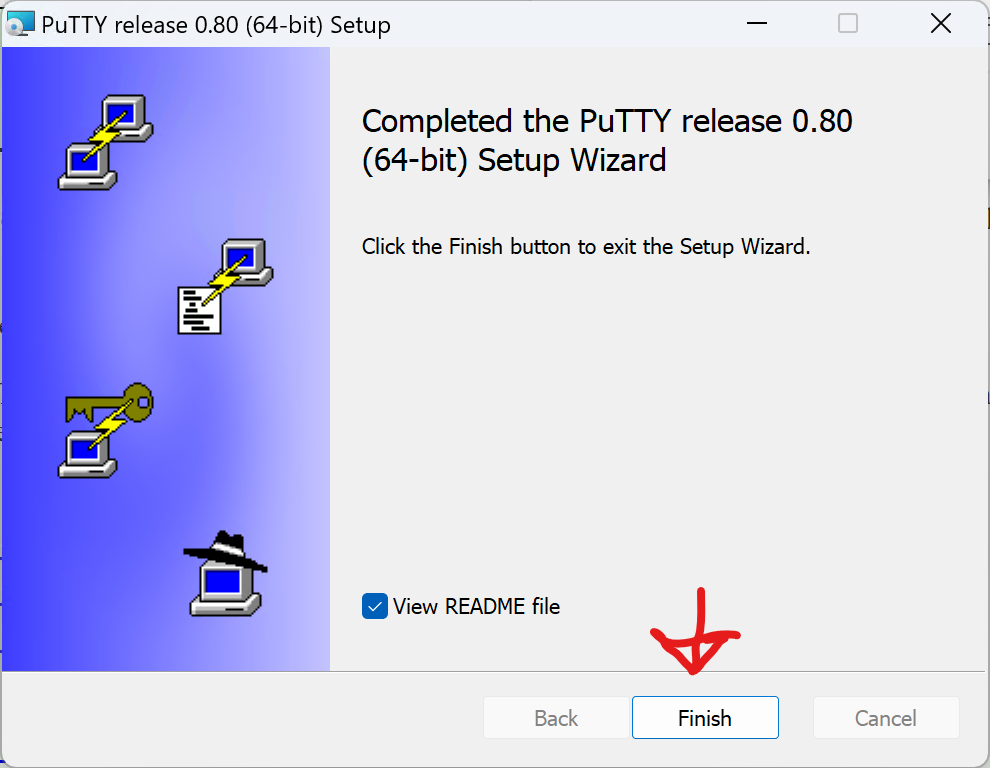
- Installation should be pretty simple. Just click through the prompts, and use the default settings.


- After it gets installed, you can close out of the notepad opened.
- Installation should be pretty simple. Just click through the prompts, and use the default settings.
-
Travel Router - This is used to create the network "StemSpot." While you are configuring, setting up, communicating, and driving the cars, both the client, and car need to be connected to the router. More information here: (You'll need to be logged in to access)

Step 2: Let's Get Started! - Install the OS
Are you ready? Let's put some of those prereqs to work!
- Open Raspberry Pi Imager
- Insert a Micro SD Card into the computer with Raspberry Pi Imager, to install Raspberry Pi OS on the SD.
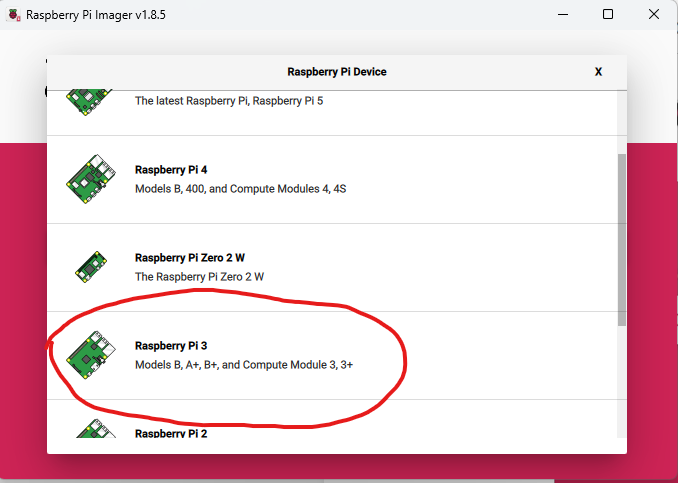
- The Raspberry Pi Device is "Raspberry Pi 3"

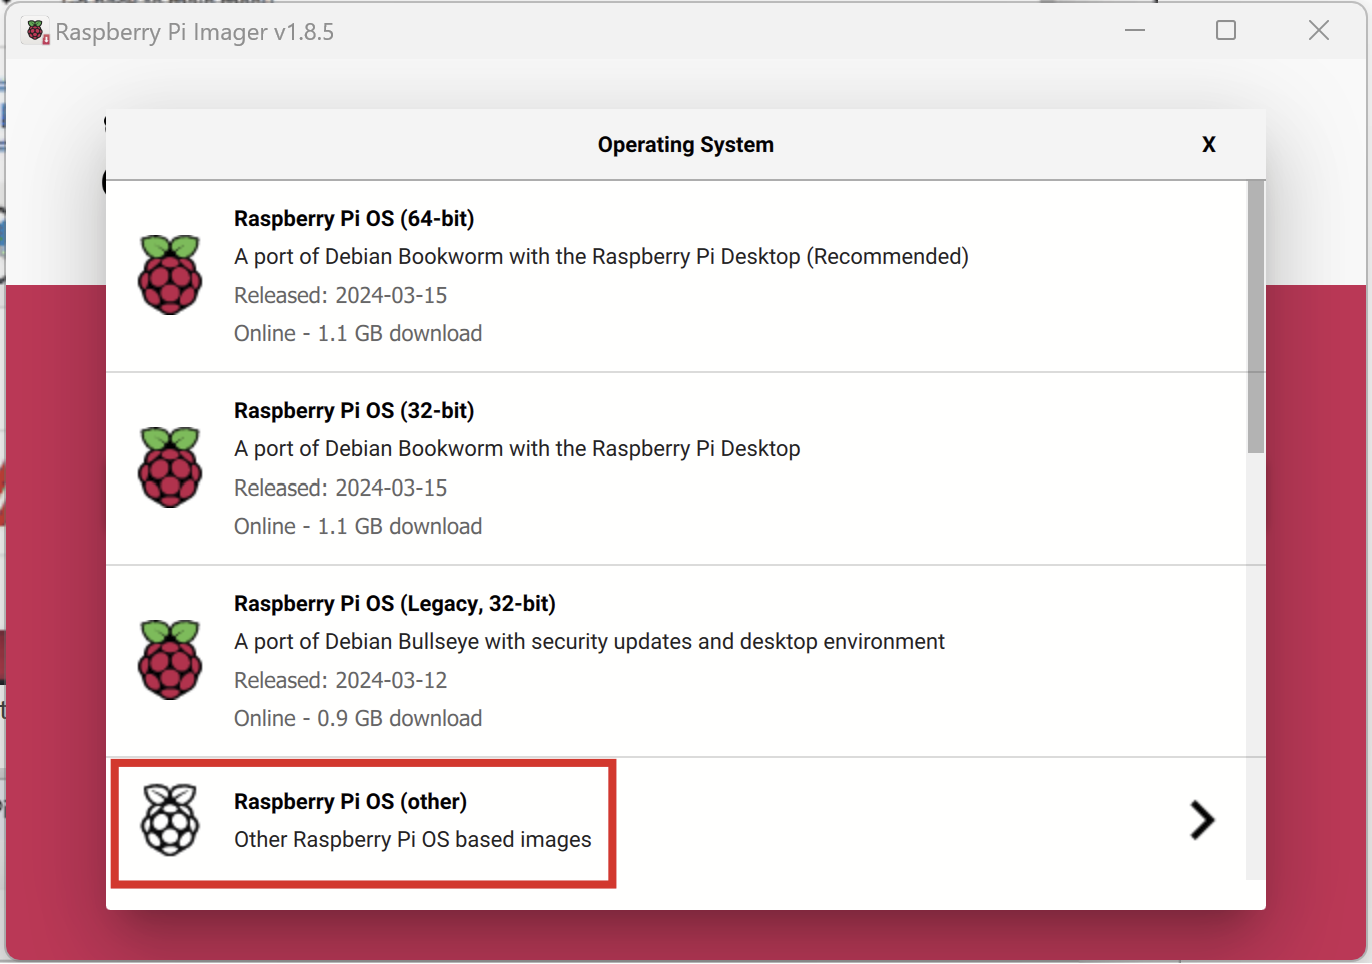
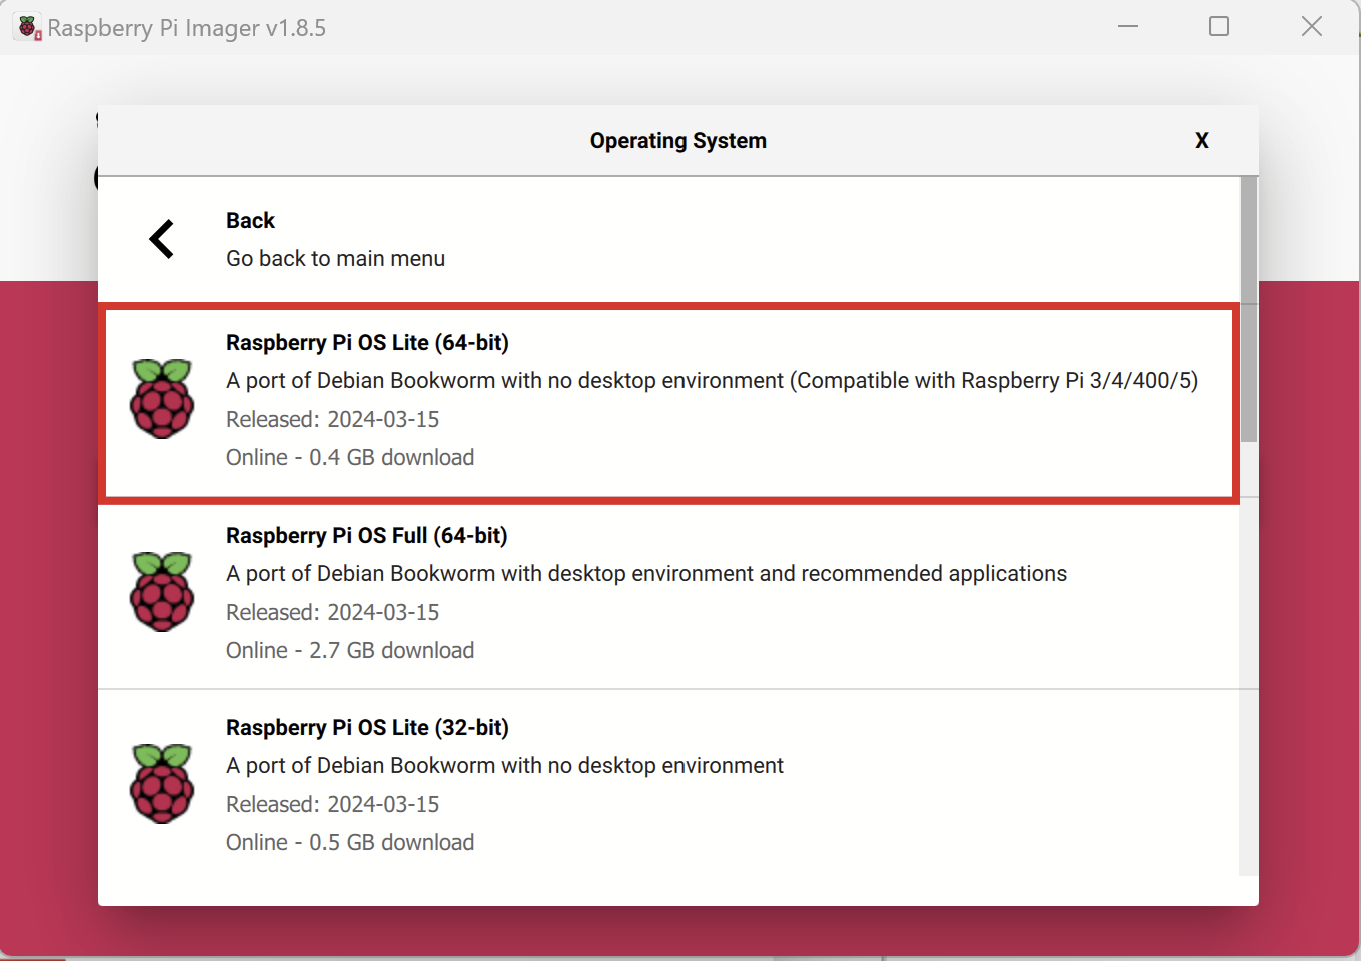
- The Operating System is "Raspberry Pi OS (Legacy 64-bit) Lite"

- Make sure the storage device is the SD card for the PiCar.


- The Raspberry Pi Device is "Raspberry Pi 3"
- Press "Next", and then Select "Edit Settings"

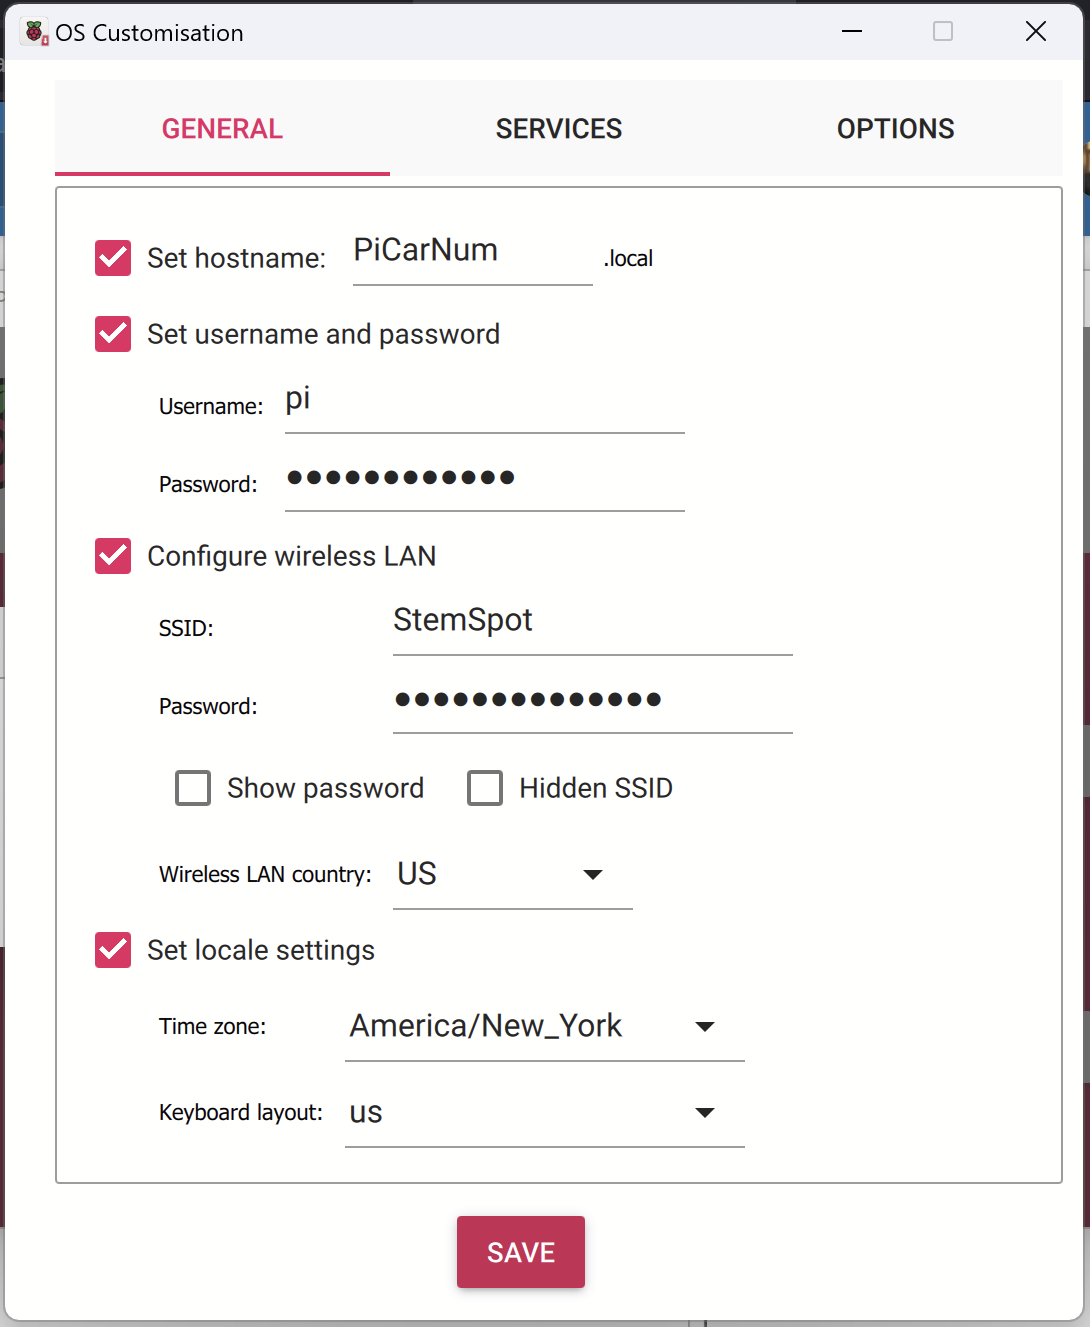
Copy these settings exactly:
- Set Hostname: PiCar<Num> (Replace the hostname "PiCarNum" with PiCar followed by the ID (1,2,3, or 4) Ex: "PiCar2")
- Set Username and Password:
- Username: pi
- Password: STEMROOM6041
- Configure Wireless LAN: For WiFi passwords, click here You'll need to be logged into an account with access for it to function.
- Set Locale Settings:
- Time Zone: America/New_York
- Keyboard Layout: us
- Services:
- Enable SSH: On
- Use Password Authentication: True
- Options: No Change
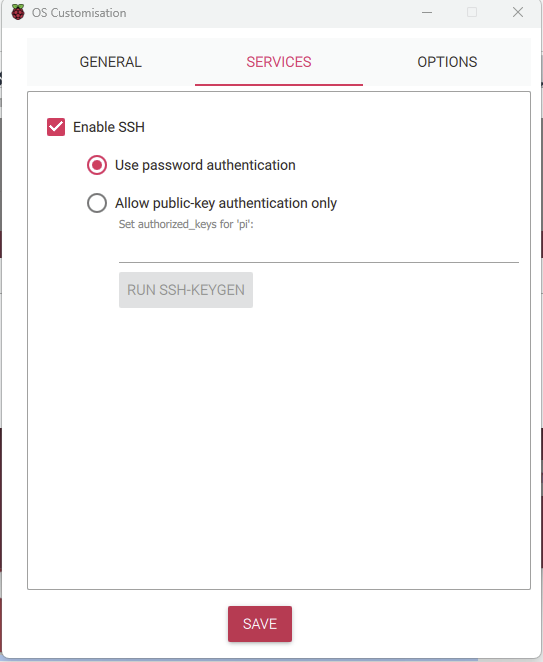
You can leave the options tab default.
Step 3: Revving Up The Pi!
- You can now remove the SD Card from the computer, and insert it to the Pi.
- Insert Batteries, connect Pi Power, and wait for it to start up. Wait 5 Minutes until the next step.
- No... I mean it. Set a 5 minute timer, and wait. This is a first startup for the Pi, and you'll have to give it some time to setup the filesystem, and connect to the network.
- Make sure the computer you're using is connected to the "StemSpot" network, or all the following steps will not work.
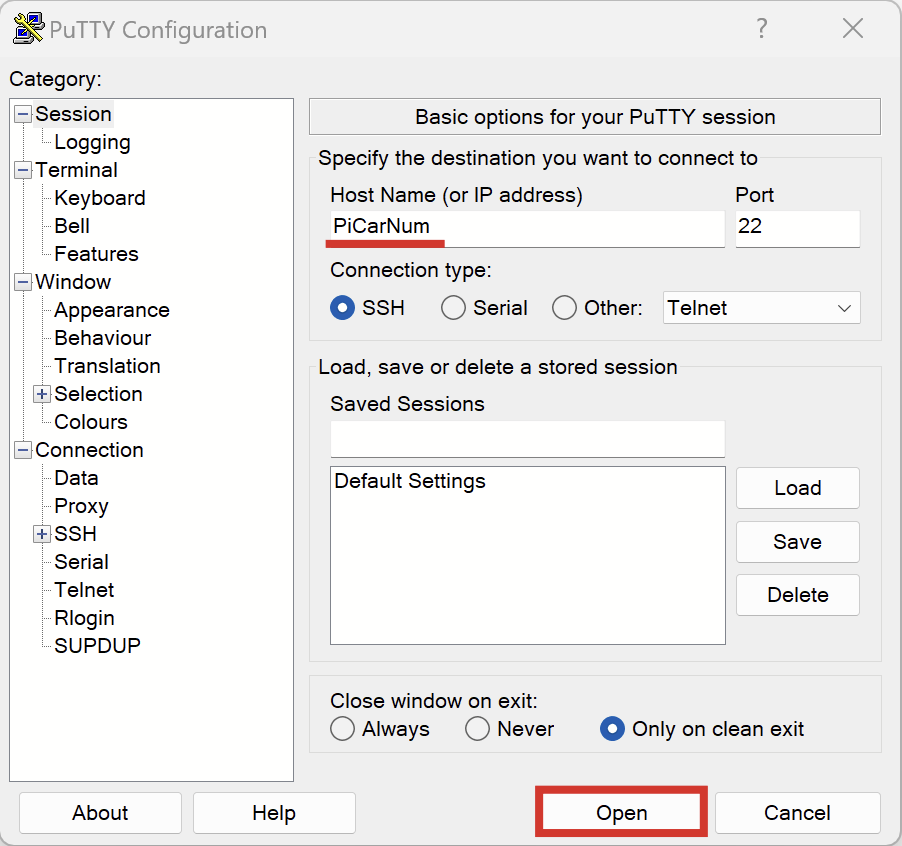
- Open Putty
- Under "Host Name (or IP address)" Enter the hostname you set before. Ex: PiCar2

- Select Open, and wait for it to connect
- On the off chance it does not connect, you can try setting the IP address of the car using an app like Fing to scan for the device.
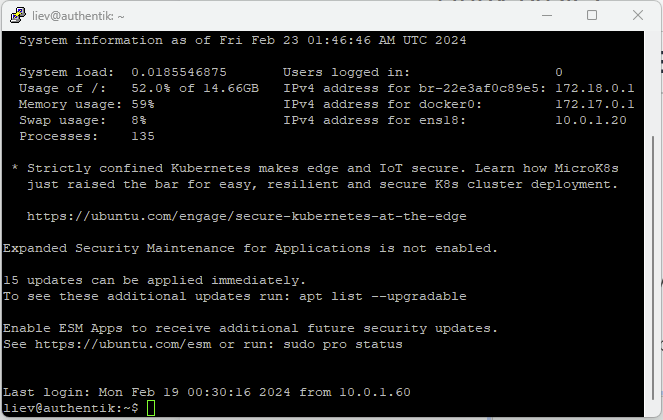
- Enter the username: pi
- Enter the password: STEMROOM6041 Key presses for passwords don't show. After typing, press enter.
- Under "Host Name (or IP address)" Enter the hostname you set before. Ex: PiCar2
- You should now see a screen like this:

- Update the Pi - To update the pi, there are two separate, but similar commands you will need to enter. Remember to only type one in at a time, and let it run. You can right-click on the center of the PuTTY window to paste
sudo apt update -ysudo apt upgrade -yNow, just reboot the Pi, and the OS will be updated.
sudo reboot nowStep 4: The Nitty Gritty
Now, we'll setup some custom settings and software to get everything running smoothly.
Reconnect to the pi using PuTTY, and use the same credentials
Wi-Fi disaster recovery script.
- Open your home directory
cd ~ - Make the script using nano
nano wifirecover.sh - Paste in the following code by copying the text in the computer, and right clicking on anywhere in the putty window.
ping -c4 google.com > /dev/null if [ $? != 0 ] then echo "No network connection, restarting wlan0" /usr/sbin/ifconfig wlan0 down sleep 5 /usr/sbin/ifconfig wlan0 up fi- Use the keyboard combination Ctrl+X, Then press Y, Then press Enter, to exit
- Use the keyboard combination Ctrl+X, Then press Y, Then press Enter, to exit
- Now, we'll install cron. This lets you schedule tasks for certian times. In this case, it will check for internet connection intermittently.
sudo apt install cron - Crontab uses a text file for configuration, so we'll open it now.
sudo crontab -e - Select Nano as the text editor
- Add this exact line to the end of the text file by copying in the computer, and right clicking on anywhere in the putty window.
1 * * * * /bin/sh /home/pi/wifirecover.sh >/dev/null 2>&1 - Use the keyboard combination Ctrl+X, Then press Y, Then press Enter, to exit
YIPPPEEEE!!!! Your Operating system is now installed, and ready to install the PiCar Code!!!
2. Installing the Code!!!
Part 1: Dependencies
The software relies on other programs to run smoothly. We'll install these now. If not already, connect using PuTTY.
- Install Main Dependencies
sudo apt install git python3-xyz python3-pip python3-setuptools python3-flask -y sudo pip install django-templates - Now, we're going to install the official PiCar-V code.
cd ~/ git clone https://github.com/sunfounder/SunFounder_PiCar-V.git - Enter the directory
cd ~/SunFounder_PiCar-V - Install smaller dependencies
sudo ./install_dependencies - VERY IMPORTANT!!! REBOOT THE CAR
sudo reboot nowPart 2: Extra Settings
In this part, we'll enable I2C in the Pi's Config. This allows you to control the motors. Don't worry, this one's quick, and you're almost ready to drive :}}}}
- Enter the Raspberry Pi config
sudo raspi-config - Select interface options by pressing the number for the option using your keyboard.
- Enable I2C by moving down to the option and pressing enter.
- You can use "esc" to exit.
Part 3: Drivers and Services
If not already using the batteries, connect the Pi to the batteries.
Now, we'll install the drivers for the servos on the car, and we'll write some code to ensure the program runs on boot.
cd ~/SunFounder_PiCar-V2. Run the Servo Setup Script - This will move servos in the car, so make sure it is on the floor in an open space.
picar servo-install3. This next part sets up AutoStart for the remote control program. We'll make a new "service file" so the pi knows to start it after booting.
sudo nano /lib/systemd/system/PiCar.service4. Paste the following code, then exit.
[Unit]
Description=PiCarServer
After=multi-user.target

[Service]
Type=idle
ExecStartPre=/bin/sleep 10
ExecStart=/usr/bin/python3 /home/pi/SunFounder_PiCar-V/remote_control/manage.py runserver 0.0.0.0:8000

[Install]
WantedBy=multi-user.target
5. Now we'll enable the service with the following commands.
sudo systemctl daemon-reload
sudo systemctl enable PiCar.service
DONE! The next page explains how to connect to the car.
3. Driving
This is it! You're now ready to drive the PiCar around.
Remember: Some roaming functionality is not perfect yet. We're working on getting it all up and running.
Connecting...
- Laptop - Make sure your laptop or client is on: "StemSpot"
- Using the name of the car, you can connect to it in your browser, like: http://PiCar<num>:8000 Ex: http://PiCar3:8000
You can always use the IP if the car name is not working. Use an app like fing.
You should be met with this screen. This allows you to control the car, and make necessary calibrations in the settings tab.